
Armbian - using CREATE_PATCHES
The Armbian build script has a built-in method to automatically create patch files from changes you do within the sources.
The official documentation writes about this:
prompt right before the compilation starts to make changes to the source code, separate for U-Boot and kernel, and will create patch files out of this. If you want these patches are included in the normal run, you need to copy them to their appropriate directories.
While this basically puts stuff in a nutshell for beginners this could be a bit confusing. In this post I will show you step by step how this works in a practical example.
- What is needed to start this process?
- Where are the sources to edit?
- Where are the created patches?
- How to apply them next time you build?
Requirements
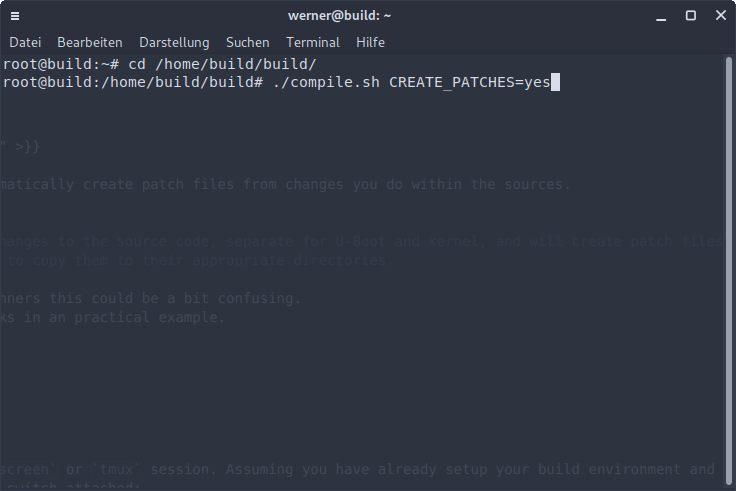
First of all you will need two terminal windows or a screen or tmux session. Assuming you have setup your build environment already and started playing with it. We fire up a new process with the CREATE_PATCHES=yes switch attached:
./compile.sh CREATE_PATCHES=yes
You will not notice any difference in the process yet. As usual the menu guides you through the selecting process and the building starts once everything is set.
For this example I go for an U-Boot and Linux package only build for an Orange Pi One using the current branch.
Editing source
After the first round of patches the script stops.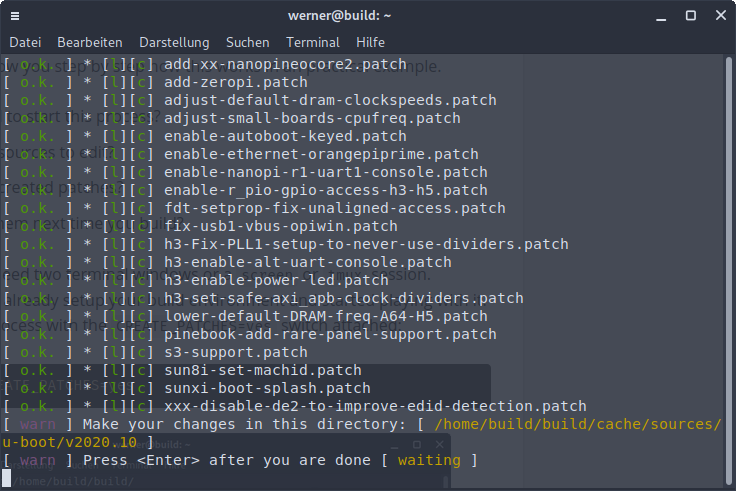
cd /home/build/build/cache/sources/u-boot/v2020.10
and make your changes. In my case I do not want to change anything here so I skip this by simply hitting enter in the build script terminal. As expected the script tells me that no changes were detected.
As soon as the kernel sources have been fully patched the script pauses once again and asks me to make my changes. So let’s do that.
I switch to the second terminal and navigate to /home/build/build/cache/sources/linux-mainline/orange-pi-5.9 and do my changes.
Then I switch back to the build script terminal and hit enter. My changes have been detected and I am asked to provide a proper description.
After that the patch file is created and the script tells me where it is located before it continues business as usual.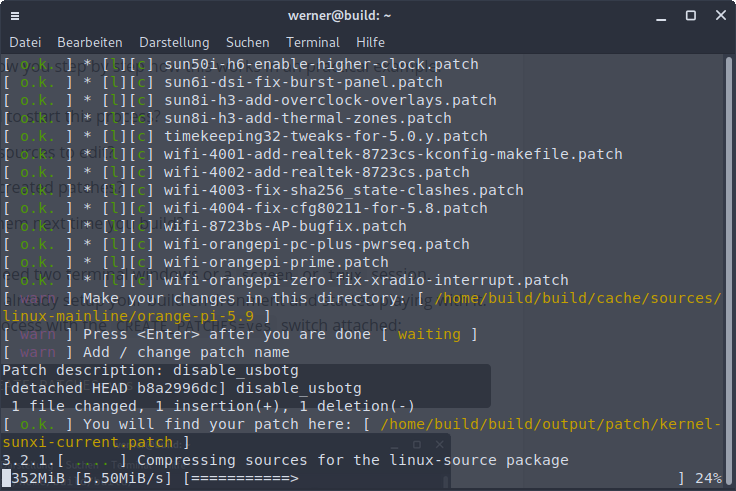
Created patch file
While the building process continues let’s have a look at the provided patch file in /home/build/build/output/patch/kernel-sunxi-current.patch
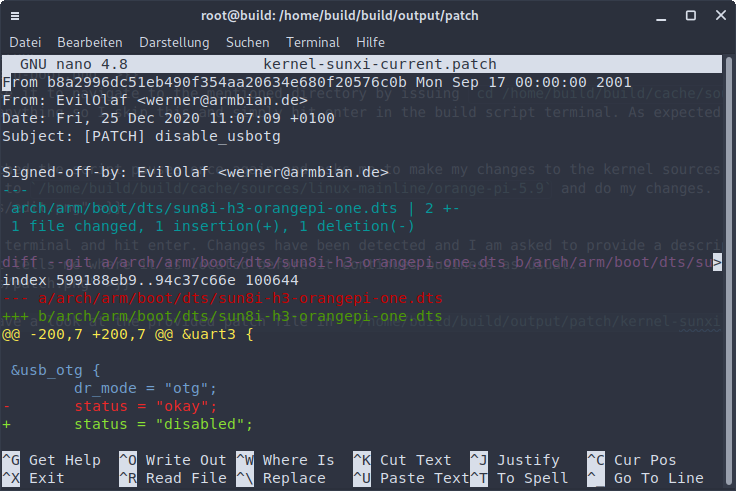
As you can see the patch file replicates exactly the changes I made to the device tree source file.
Usage for further building
By default all the sources are cleaned and reverted back to their unmodified state every time a new building process is started. This is good practice because it prevents you from accidentally building against a pre-patched source code. The original source shall stay unmodified and only be altered by applying patches to it.
To do that with our created patch file we need to move it in the appropriate folder. The Armbian documentation mentions here:
You can add your own patches outside build script. Place your patches inside appropriate directory, for kernel or u-boot. There are no limitations except all patches must have file name extension .patch. User patches directory structure mirrors directory structure of patch. Look for the hint at the beginning of patching process to select proper directory for patches.
If you have a look in the userpatches/kernel directory (assuming you did changes to the kernel source and not U-Boot like I did) you will notice there are a lot of folders with weird names and have no idea where to put your file.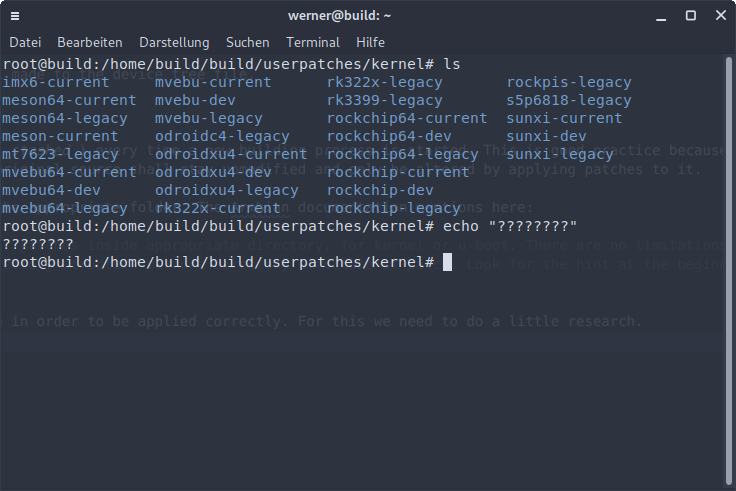
The names of these folders are assembled from two variables: the board family and the kernel branch. Usually families have multiple kernel branch to choose from like legacy and current.
What we already know is the used branch which was current. Yet we need to figure out which board family is our board - the Orange Pi One to say - related to.
An easy method is to open your browser and navigate to the Armbian build Github repository and search for the configuration file of your build.

As you can see the board family is mentioned as BOARDFAMILY="sun8i". This means our board is a part of sunxi because the x is just a placeholder since multiple sub-families like sun4i, sun5i, sun6i and so on are summed up.
So going back to the userpatches folder we now know where to put our patch file: userpatches/kernel/sunxi-current/
After copying the file to the correct folder lets make sure everything is working correctly. So firing up another build process and use the same settings as before: kernel build only, Orange Pi One and current branch.
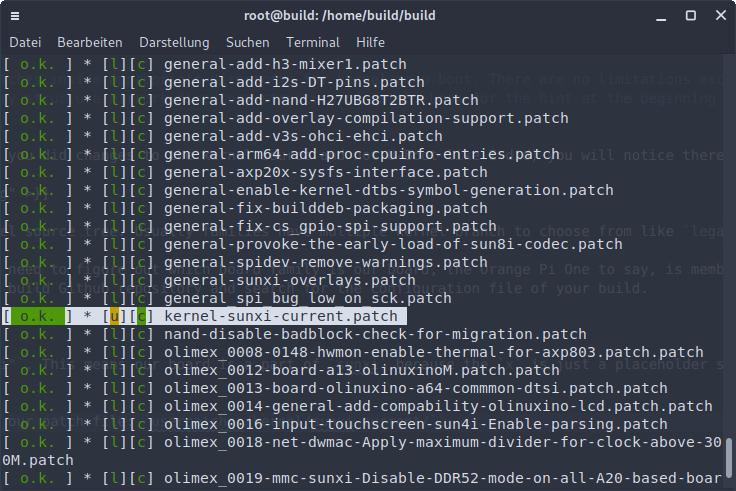
As you can see our patch was detected and applied correctly. The u indicates a user patch. And as you have noticed I did not bother giving the file a proper name as I should have done. However this is my problem for now 😀.