
Cloud NAS with local cache
While I was bored and had a spare NanoPi Neo3 laying around I though to myself why not make good use of it? With its small size, gigabit ethernet and a USB3 port it is the perfect board for creating servers or in this case a crude network storage. Some of you already read about it on Twitter.
Intentionally I did not plan to write an article about this project since I believe it is poorly hacked together and it also suffers from performance issues which I could solve partially at least. However to anticipate the excitement for all the Neo3 owners: I did not finish this project on this board and had to switch to a more expensive model to accomplish full speed. If you are fine with slower speeds it is still perfectly fine though.
Since my cloud backend would be Google I realized that this way I can access all the data on my phone as well simply by using the Drive app. This is comfortable but also concerning since I do not want to blindly send all my data plain to the cloud and simply trust a hugh company in the US. So I split it up into two shares: an unencrypted one for mobile access and an encrypted one for local access only.
I will cover both.
Requirements
Obviously you need
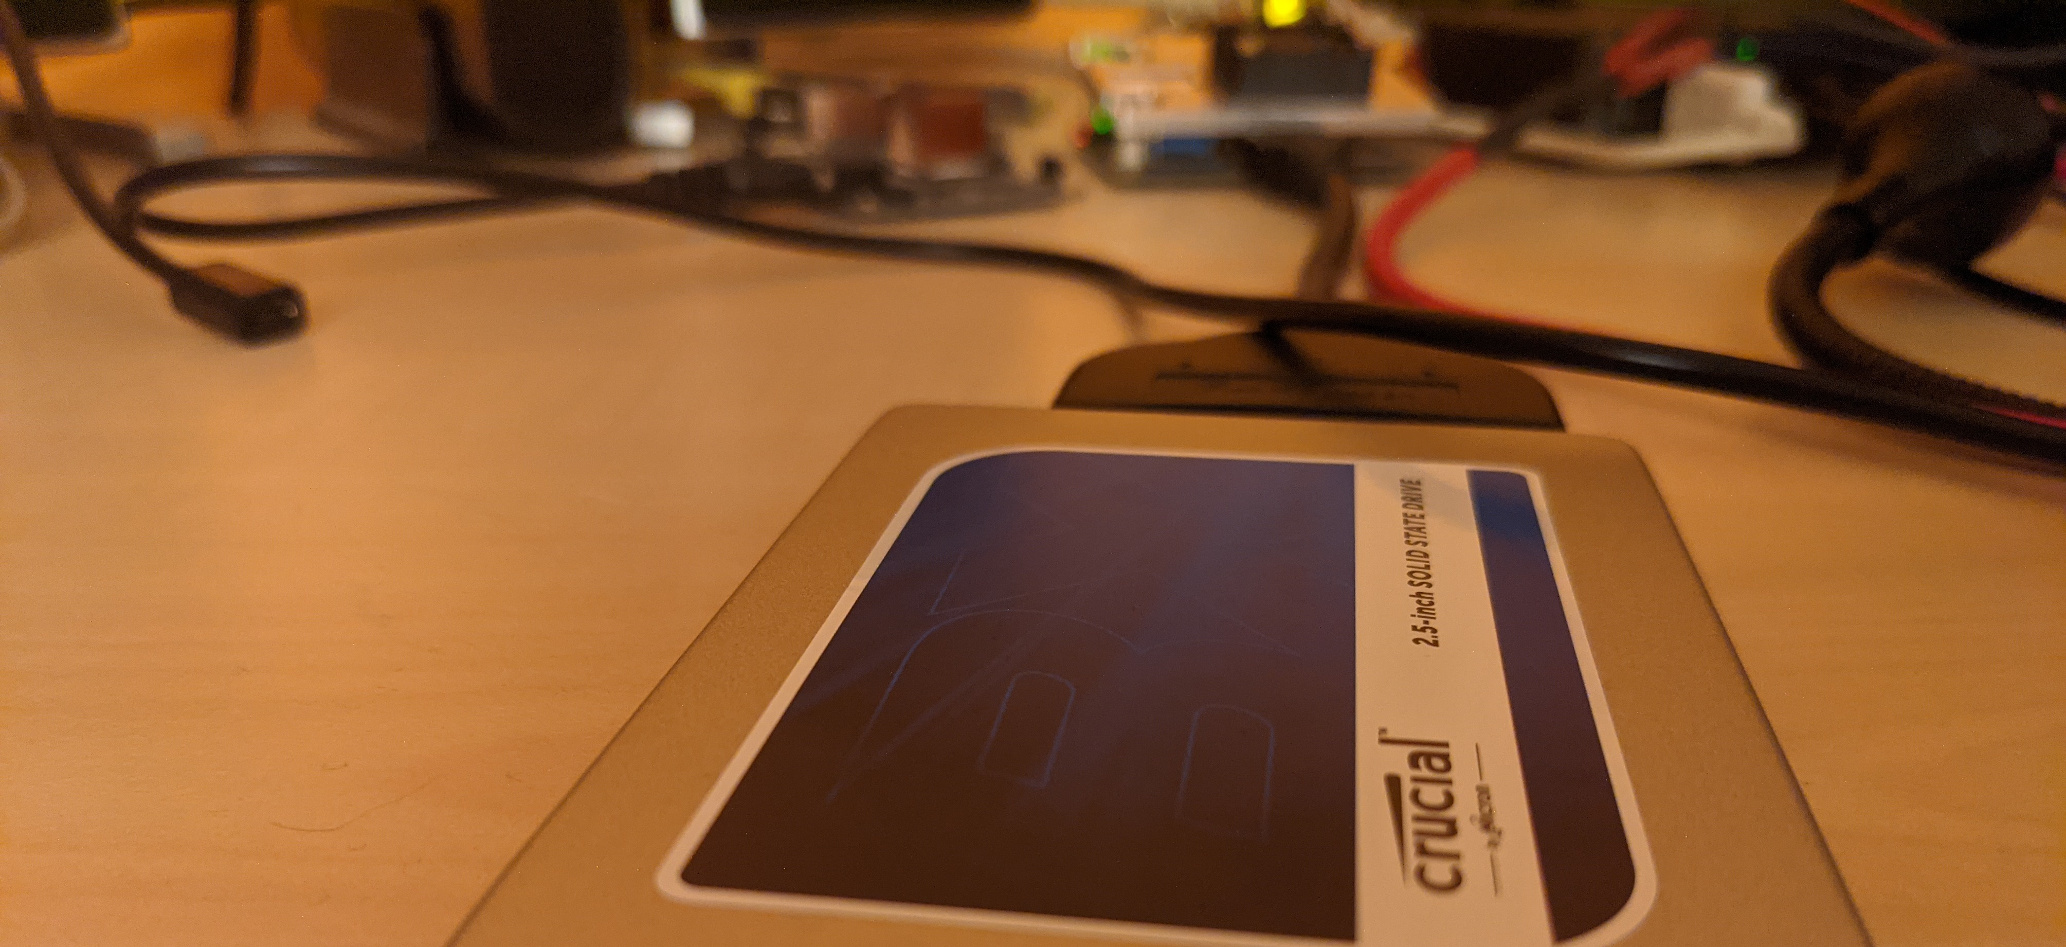
- a spare SBC which in my case was a NanoPi Neo3,
- a spare 2.5" hard drive or SSD with any volume,
- a USB3 to SATA adapter,
- some cloud storage, in my case Google Cloud
- and a halfway decent internet connection.
I pieced everything together by hooking up the SSD to the adapter to the board, wrote a microSD card with the matching Armbian image, connected it to my LAN and fired everything up.
Preparation
Firstly I took a look at dmesg to get the block device name that has been assigned to my SSD. Even tough I was confident it would be sda I double-checked.
mkfs.ext4 /dev/sda1 # create fs
tune2fs -o journal_data_writeback /dev/sda1 # improve performance
mkdir /cache # create folder
mount -o rw,defaults,noatime,nodiratime /dev/sda1 /cache # mount
Software installation
Besides Armbian in Focal flavor as operating system I chose Samba to make my shares available so both Linux and Windows based boxes can easily access and use it comfortable.
apt update && apt upgrade -y && apt install samba
For the connection to the cloud I utilized rclone. While I prefer installing and updating it from their Debian packages feel free to use their installation script instead for convenience:
curl https://rclone.org/install.sh | sudo bash
Since I do not want to run everything as root user - which would be bad practice anyways - I created a new unprivileged user and made the cache drive accessible for it. Also I create the necessary folders.
useradd -m -s /bin/bash rclone
chown rclone:rclone /cache
su rclone -c "mkdir /cache/plain"
su rclone -c "mkdir /cache/encrypted"
su rclone -c "mkdir /home/rclone/plain"
su rclone -c "mkdir /home/rclone/encrypted"
Configuration
Samba
I created two anonymously accessible Samba shares. This is fine for me since I have control over who is connected to my network.
[plain]
    comment = unencrypted share
    path = /home/rclone/plain
    read only = no
    browsable = yes
    force user = share
    guest only = yes
    guest ok = yes

[encrypted]
    comment = encrypted share
    path = /home/rclone/encrypted
    read only = no
    browsable = yes
    force user = share
    guest only = yes
    guest ok = yes
Note that I did not restart smbd yet because I do not want to have the target folders blocked from being mounted over or have data written to it.
You can however do the restart, test if the shares are actually working and then stop the daemon again.
Rclone - unencrypted
Now we can switch to the new user and start the backend config.
su - rclone
rclone config
I will not go through the configuration steps for the unencrypted part since everybody will have a different cloud backend and the config walkthrough differs from each to each. I recommend checking out the detail pages for every backend that is supported by rclone. More at rclone.org/overview/ (click on Storage System at the top of the page).
Once you finished configuring your cloud access, assuming you named it yourbackend try if everything works correctly:
rclone mkdir yourbackend:test
rclone ls yourbackend:
Rclone - encrypted
Fire up rclone config again and create a new remote. I call it encryptedbackend and get through the steps real quick. Though I recommend reading each step careful to get an idea about what actually happens.
e/n/d/r/c/s/q> n
name> encryptedbackend
storage> 11
remote> yourbackend:encrypted
filename_encryption> 1
directory_name_encryption> 1
y/g> g
Bits> 1024
y/n> y
y/g/n> g
Bits> 1024
y/n> y
y/n> n
y/e/d> y
e/n/d/r/c/s/q> q
Now
rclone listremotes
should give you to two remotes: yourbackend and encryptedbackend.
Bring things together
While rclone can run as a daemon with logfile target I prefer to run it in a detached screen session since every log entry creates a write event to the microSD card and that would shorten its lifetime.
Just as a quick note you can make use of Armbian’s zram and ramlog features to create sd card friendly logging. However I will not cover that in this post last but not least because this feature is not documented very well.
For mounting I created a simply shell script:
#!/bin/bash
su rclone -c "screen -mdS enc rclone mount --rc --rc-addr=localhost:5573 --use-mmap -v --allow-other --no-modtime --poll-interval 10s --dir-cache-time 8760h --attr-timeout 8760h --fast-list --vfs-cache-mode full --max-read-ahead 4M --vfs-cache-max-size 99G --cache-dir /cache/encrypted/ encryptedbackend: /home/rclone/encrypted/ --write-back-cache --vfs-write-back 10s --vfs-cache-max-age 8760h --vfs-read-wait 10ms --tpslimit 20 --bwlimit 3M:off --umask 0000"
su rclone -c "screen -mdS plain rclone mount --rc --rc-addr=localhost:5572 --use-mmap -v --allow-other --no-modtime --poll-interval 10s --dir-cache-time 8760h --attr-timeout 8760h --fast-list --vfs-cache-mode full --max-read-ahead 4M --vfs-cache-max-size 99G --cache-dir /cache/plain/ yourbackend:plain /home/rclone/plain/ --write-back-cache --vfs-write-back 10s --vfs-cache-max-age 8760h --vfs-read-wait 10ms --tpslimit 20 --bwlimit 3M:off --umask 0000"
Woah. That are some scary long commands. Let’s break them down since you need to adjust some settings to your fits anyways:
su rclone -cTo safe some time we usesuto run the command as our unprivileged userscreen -mdS plaincreate a screen session called plain and detach it after creationrclone mounttells rclone we want to mount a remote--rcenable remote control for the rclone instance--rc-addr=localhost:5573since will have multiple rclone instances we need to define individual ports--use-mmapimprove memory handling-vbe verbose--allow-otherallow other users access to the mount. Needed for the samba user--no-modtimeDo not update the modification time. Improves performance and saves API calls--poll-interval 10sGrab changes from the remote every 10 seconds. May not necessarily work with your particular remote. Check docs--dir-cache-time 8760h --attr-timeout 8760hThere is no need to pull and update the whole remote structure and attributes in memory few minutes. So keep it for a year. poll-interval will take care for updates--fast-listfor big remotes with tons of files and folder this can greatly improve listing speed. Needs a bit more memory though--vfs-cache-mode fullCache EVERYTHING!--max-read-ahead 4MIf a file is accessed that is not cached yet go read 4 MB ahead of users request to speed further requests up--vfs-cache-max-size 99GAdjust this to your needs. If more data is added to the remote than the cache can handle it will remove the oldest file automatically. My SSD has 224GB from which I created a partition with 200GB. Both encrypted and unencrypted cache shall receive 99GB each with 1G tolerance.--cache-dir /cache/plain/Where to cache toyourbackend:plain /home/rclone/plain/mount source and target--write-back-cacheMakes kernel buffer writes before sending them to rclone. Can improve performance on Linux systems--vfs-write-back 10swait 10 seconds before attempting to upload the file to the remote--vfs-cache-max-age 8760hkeep files in cache for a year. As mentioned above the oldest file will be removed automatically if cache overflows--vfs-read-wait 10msTime to wait for in-sequence read before seeking--tpslimit 20Limit the amount of API queries to the remote to 20 per second. If needed adjust this to recommendations for your remote.--bwlimit 3M:offwe do not want our whole upstream being blocked from file uploads so we limit it. Adjust to your internet connection. For example if I have 4MB/s upstream I limit it to 3MB/s. Downstream is unlimited--umask 0000create files and folders with 777 flag to make sure samba can fully access them
Sorry for the wand of text but I would not feel comfortable either copying a long command from a random website without explanation.
You can find a lot more information about each parameter by digging through the rclone documentation, especially here and here.
Issues
After everything was setup and tested successfully with some smaller files I started moving some bigger one and noticed that the speed maxed out at around 50 to 60 MB/s. It seems like the RK3328 SoC was simply not powerful enough to handle the load.
So I moved everything to my NanoPi R4S built around the RK3399 SoC. With success. The speed now maxes out at 100 to 110MB/s which is close enough for a common gigabit LAN.
My guts feel tell me that the access time for files on the Samba share is still kind a slow or could be faster. Maybe somebody knows where to tweak to enhance this.
Well that’s about it. I hope I did not forget too much since I pieced this rather quickly together.
Let me know what you think below the tweet mentioned at the beginning.