The Pinebook Pro
Introduction
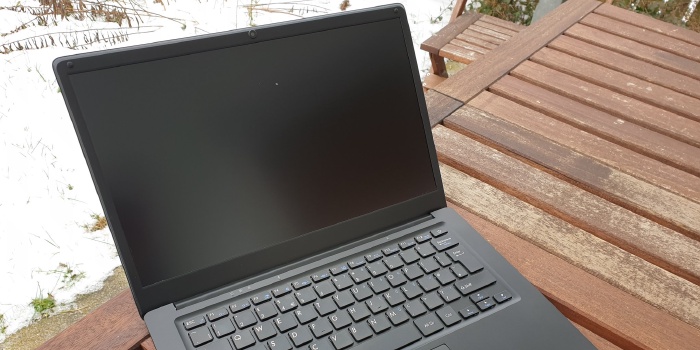
As you might have already got through Twitter I recently received a Pinebook Pro. While it looks like a normal well made laptop from the outside its internals are way different than you are used to. There is no such thing like a BIOS/UEFI that greets you and it is quite likely that you are stuck with a blank screen if you do not know what you are doing.
Also I will explain why this laptop does not come with a charging adapter by default. Update: It DOES come with a PSU. Check below.
So let’s dive a little into it.
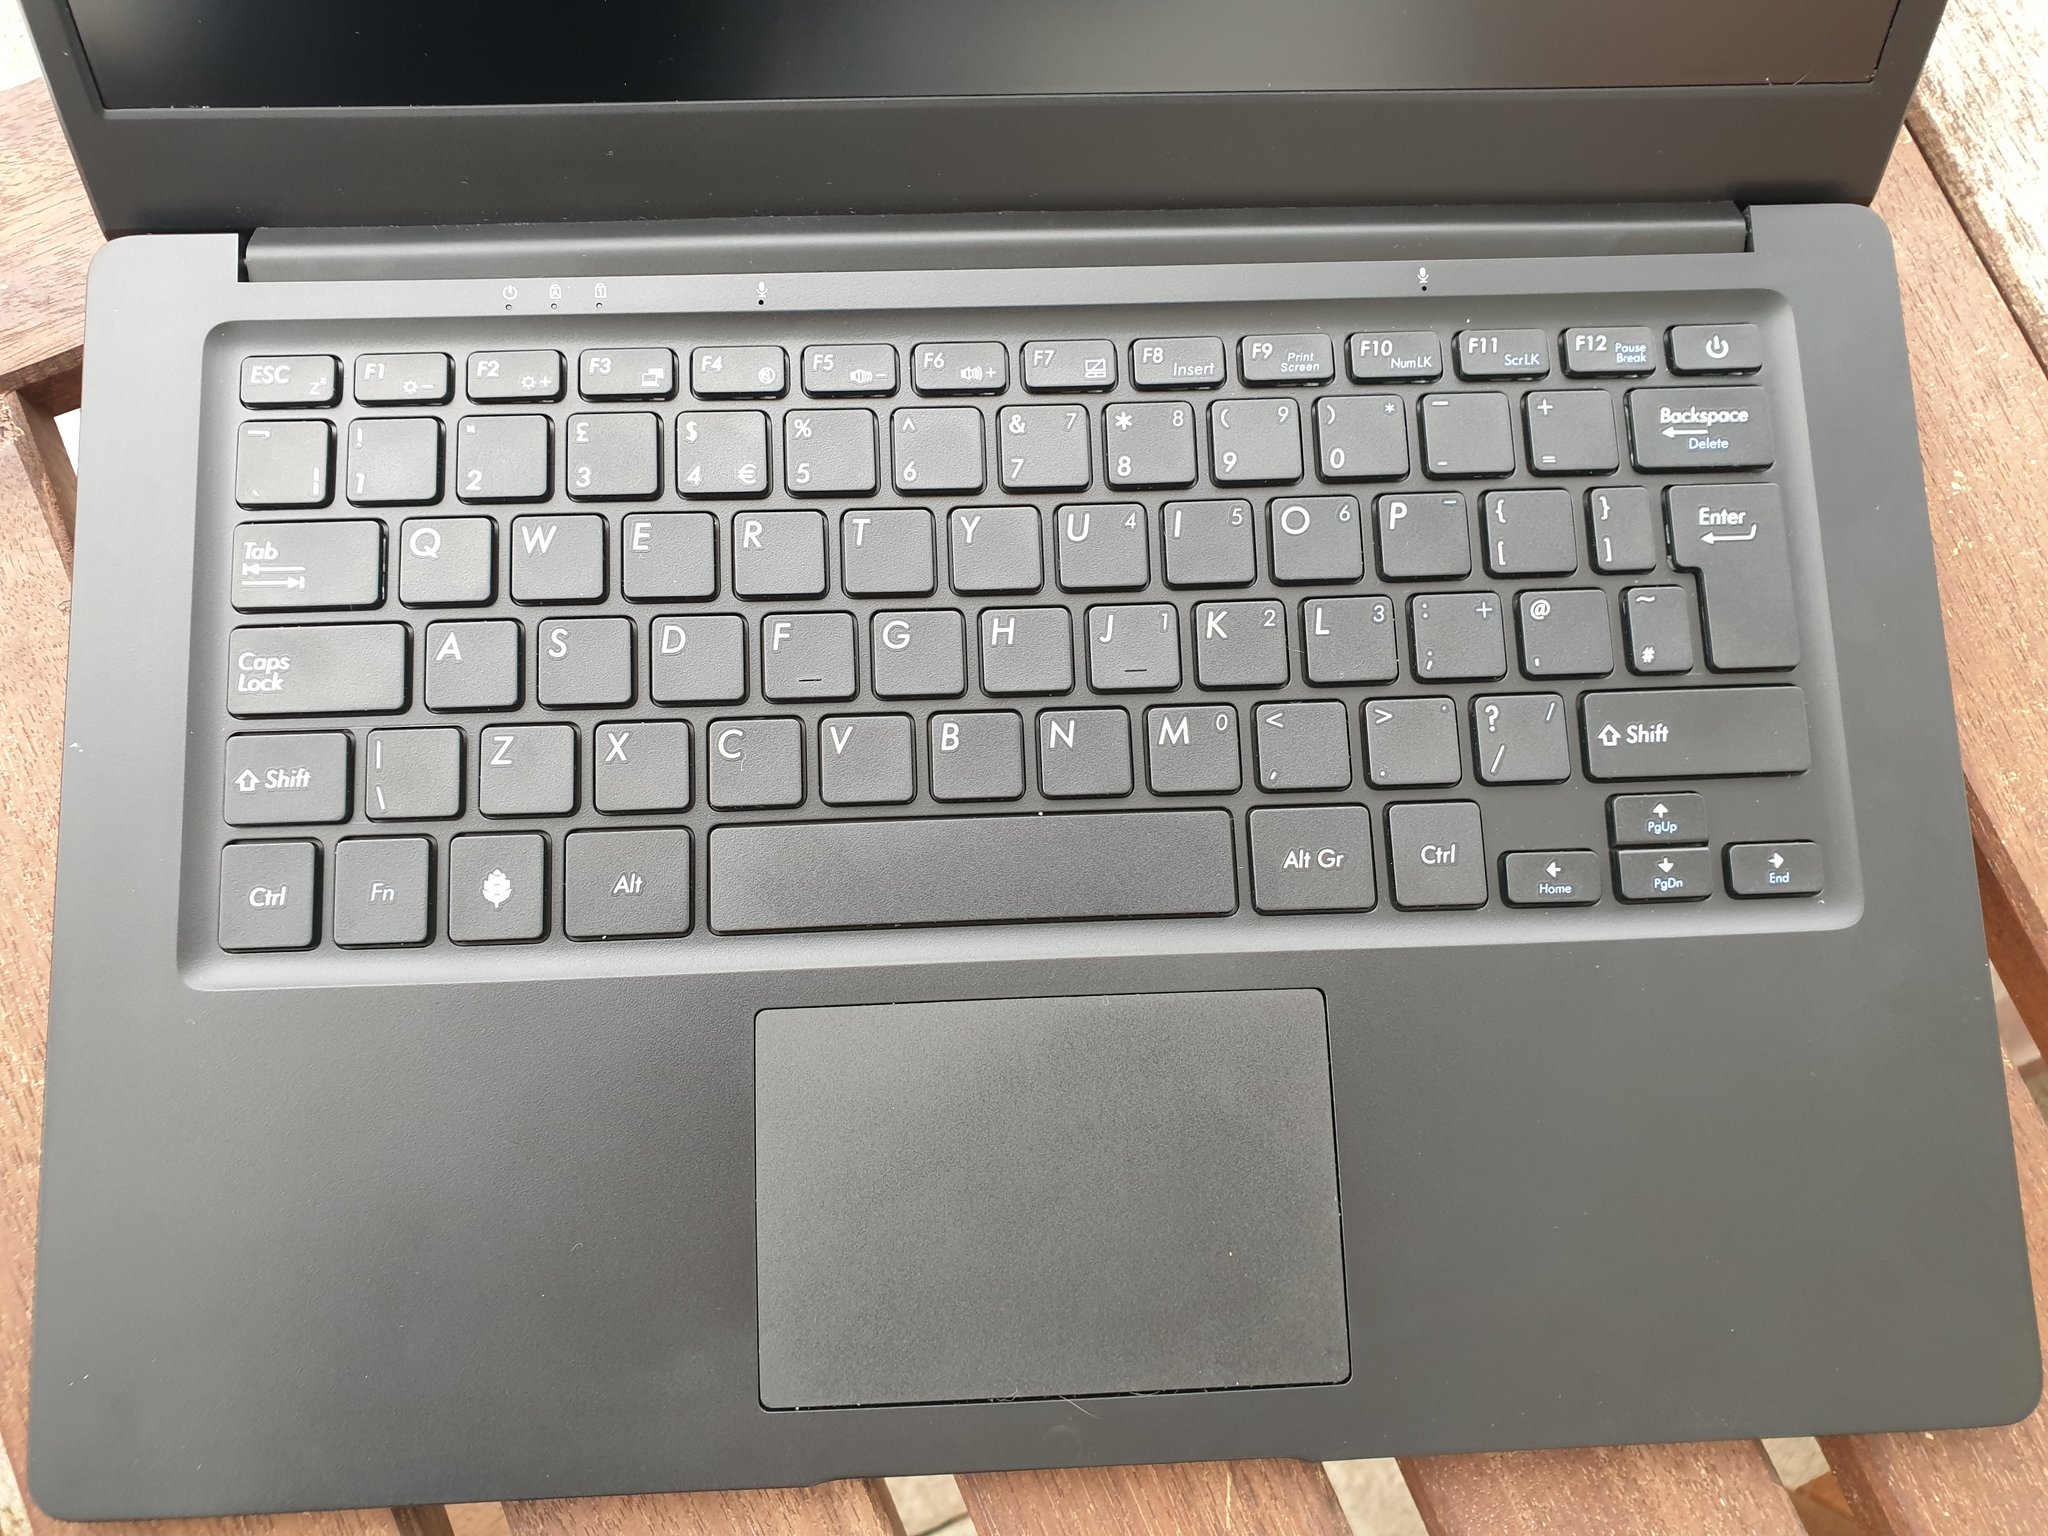
Pinebook Pro
Specifications
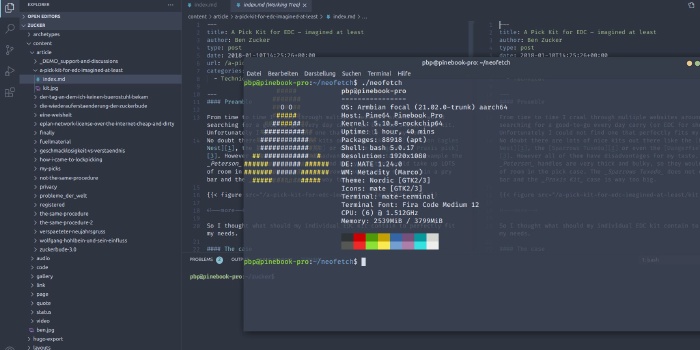
Like the Station P1 the Pinebook Pro is not your average computer since it is not your used to x86 architecture with their or an AMD processor. It is ARM architecture and its heart is the Rockchip RK3399 SoC consisting of a hexacore CPU in big.LITTLE arrangement and a graphical unit.
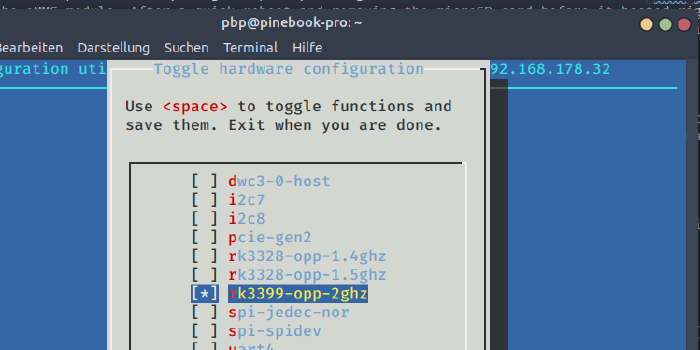
While the CPU cores are running at 1.8/1.4GHz by default it is possible to tickle out a bit more performance by overclocking it to 2.0/1.5Ghz. I will come back to this option later in this post.
By default it is shipped with 4GB LPDDR4 memory without option to upgrade. This may feel not contemporary anymore but keep in mind this thing is not designed to run a heavy bulky operating system like Windows which needs tons of resources to work.
The display is 14.0" 1920x1080 (so FullHD) IPS LCD and does the job. It is clearly not the best available display on the market as there are quite visible grey shadows in the corners when having blank screen. Luckily no dead or stuck pixels which is a thing that could really annoy me.
Connectivity-wise there are exactly six plugs available:
- Two USB3
- One USB-C
- One optional power input via DC jack
- One 3,5 headphone jack
- a microSD slot
Speaking of power. The device can be fed either via a PSU that can be ordered optionally or simply by USB-C. So you can use your average cellphone charger since its input voltage is 5 volts.
Internally the eMMC module could be switched to a bigger one and an optional m.2 NVMe adapter is available for purchase. For latter it is wise to check the compatibility list on their wiki to make sure the designated device will work.
At this point I will stop bothering you with the details as you can find more information about its internals in their wiki under technical specifications anyways.
Privacy
Something I would like to mention dedicated are the so called privacy switches.
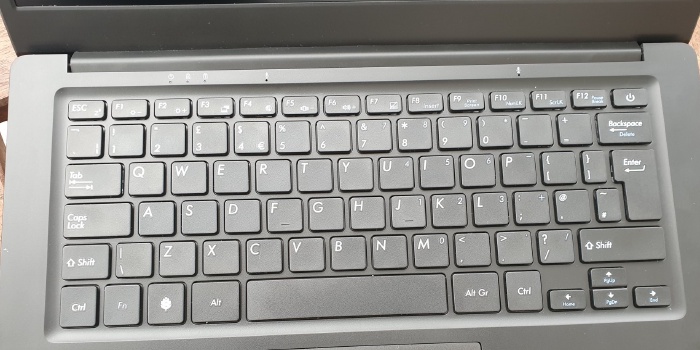
Independent from the running operating system the keyboard firmware includes options to cut the power to microphone, camera and WiFi. These power states cannot be overwritten by the operating system and is therefore considered very secure. So no more need to put some duct tape over your webcam if you want to be sure not being watched :-).
First start and boot issues
Since I bought my Pinebook Pro used it did not come with the shipped with Manjaro Linux installation but with a nightly image from ayufan. This however lead into a mayor issue because its boot loader did not allow me to boot my own operating system which shall be Armbian of course.
To understand why this is happening we need to take a bit a deeper look into how the RK3399 is designed. Rockchip made in my eyes a rather bad decision to hard code this boot sequence into their chips:
- SPI
- eMMC
- SD
So if there is a boot loader present on either SPI or eMMC it will never probe the other devices to check if there is a boot loader available too.
This can be worked around by putting a proper boot loader on either one of these devices that itself changes the boot sequence and - for example - point back to the microSD card to check if it is bootable.
Pine64 has a dedicated wiki page that talks a bit more about this in detail.
To cut a long story short: I was stuck and needed a workaround.
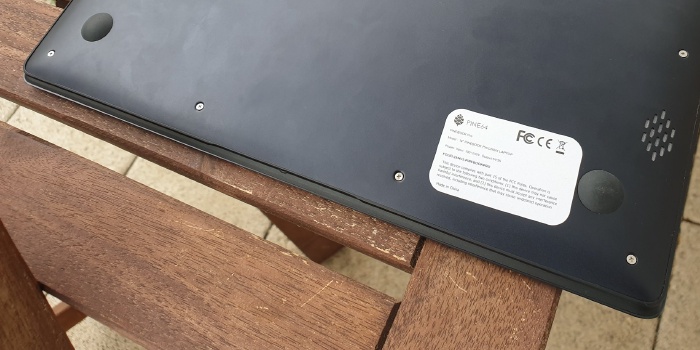
Thankfully the creators were aware of this problem and added a little switch (check number 24) that can be used to entirely disable the eMMC. So I unscrewed the backplate, flicked the switch and started again with a microSD with Armbian installed plugged in. And it booted. Nice.
The next challenge was to copy Armbian to the eMMC module without the need to buy an optional USB-eMMC adapter for the job. Re-enabling the eMMC live by simply flicking the switch again does not bring it back automatically.
The creators were aware of this problem as well and provided commands to unbind/bind the device live to make it usable again:
echo fe330000.sdhci >/sys/bus/platform/drivers/sdhci-arasan/unbind
echo fe330000.sdhci >/sys/bus/platform/drivers/sdhci-arasan/bind
Awesome. From this point on everything was pretty straight forward and I used the built-in nand-sata-install script provided by Armbian to copy the OS to the eMMC module. After a quick reboot and removing the microSD card before it booted right away. As the Armbian boot loader includes the boot sequence workaround I am now able to boot other images from microSD as well.
Desktop usage
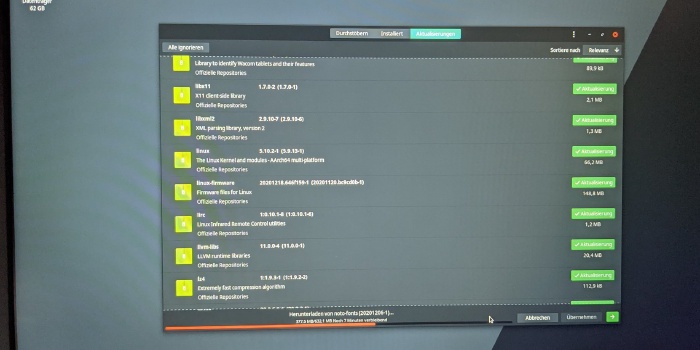
Since I am a big fan of the MATE desktop environment because it is lightweight and does everything I need I gone ahead and did kind a overkill thingy and simply installed everything that is related to MATE and the integrated file manager caja by issuing this command:
apt-get install mate-* caja-*
It has been a few weeks now since then and I cannot remember exactly what I did but I think I also had to install some additional packages for the lightdm display manager to make it work properly.
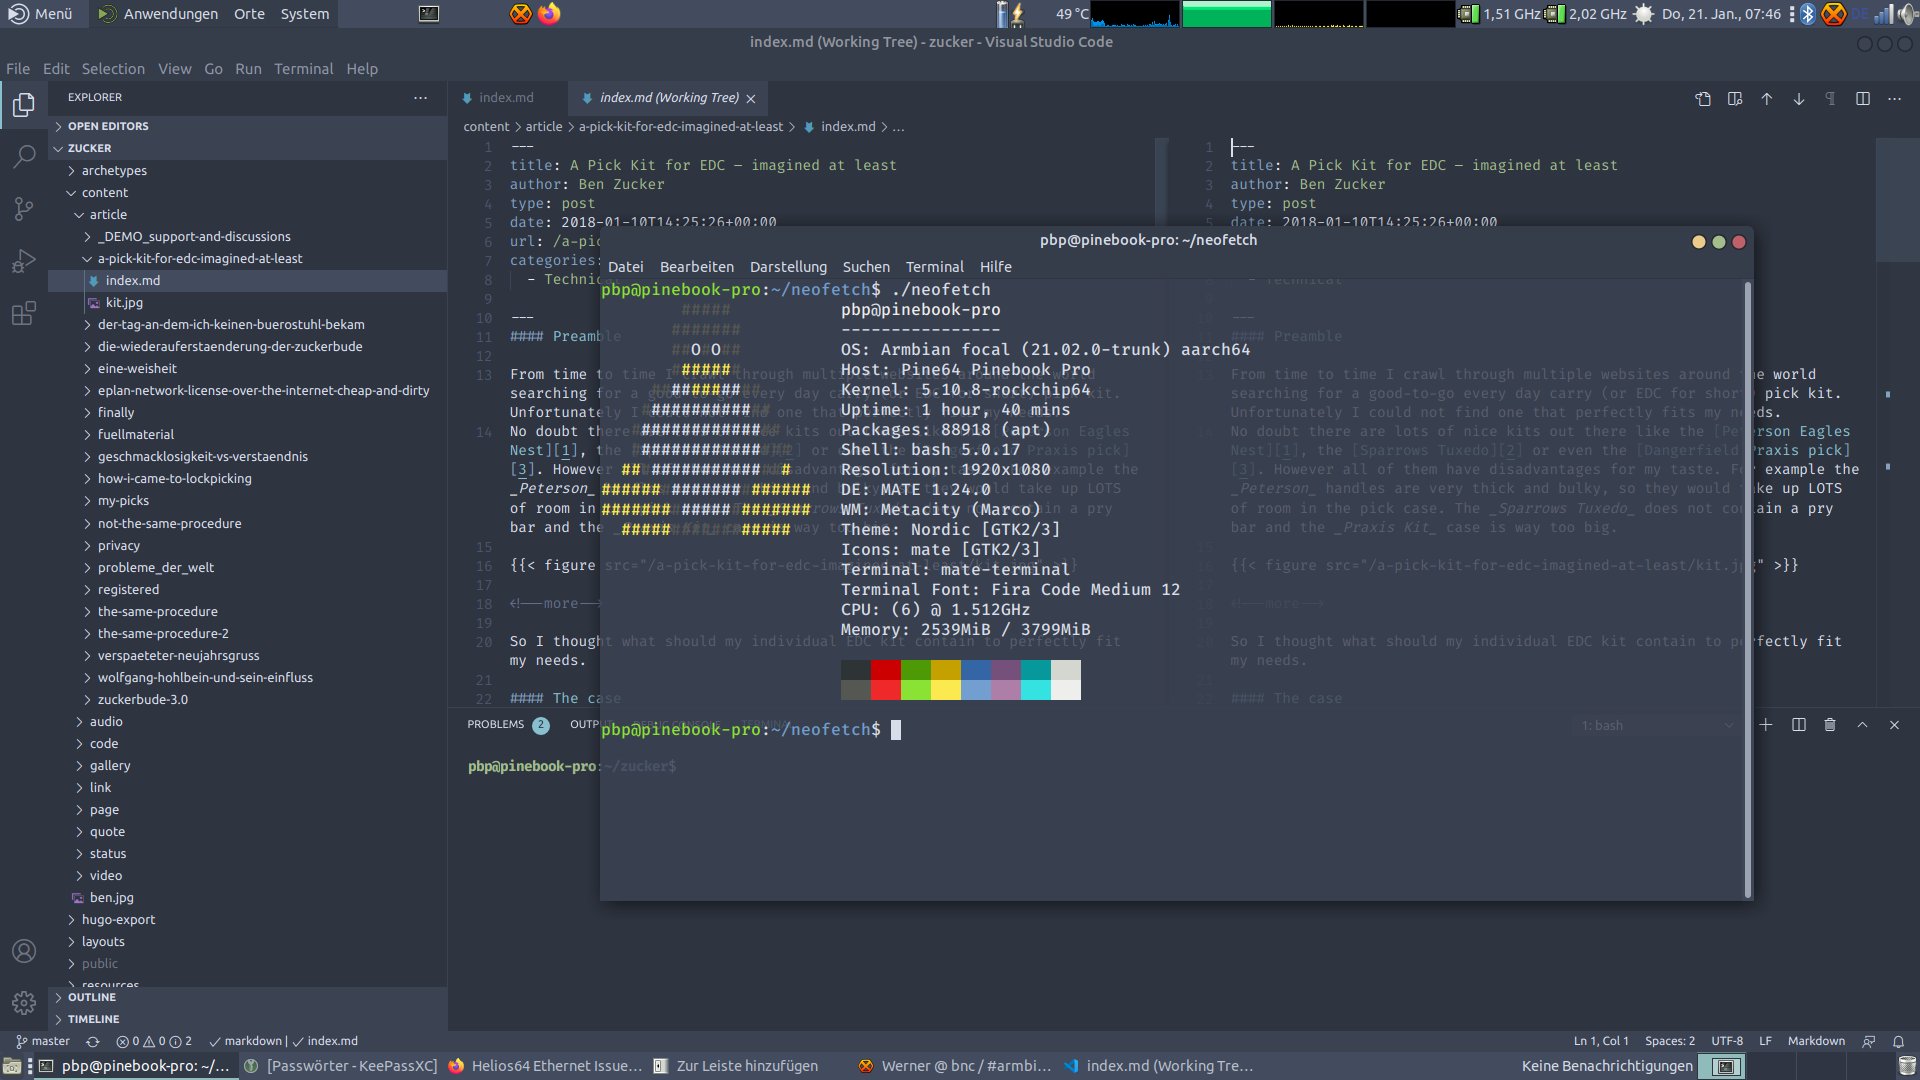
Not much to add here. It is working decent running the latest mainline Linux kernel with some patches from Armbian on top.
I also gave the default operating system Manjaro a shot so I wrote an image to a microSD card and booted from it and… well let’s just say I was not very satisfied with it for some reason.
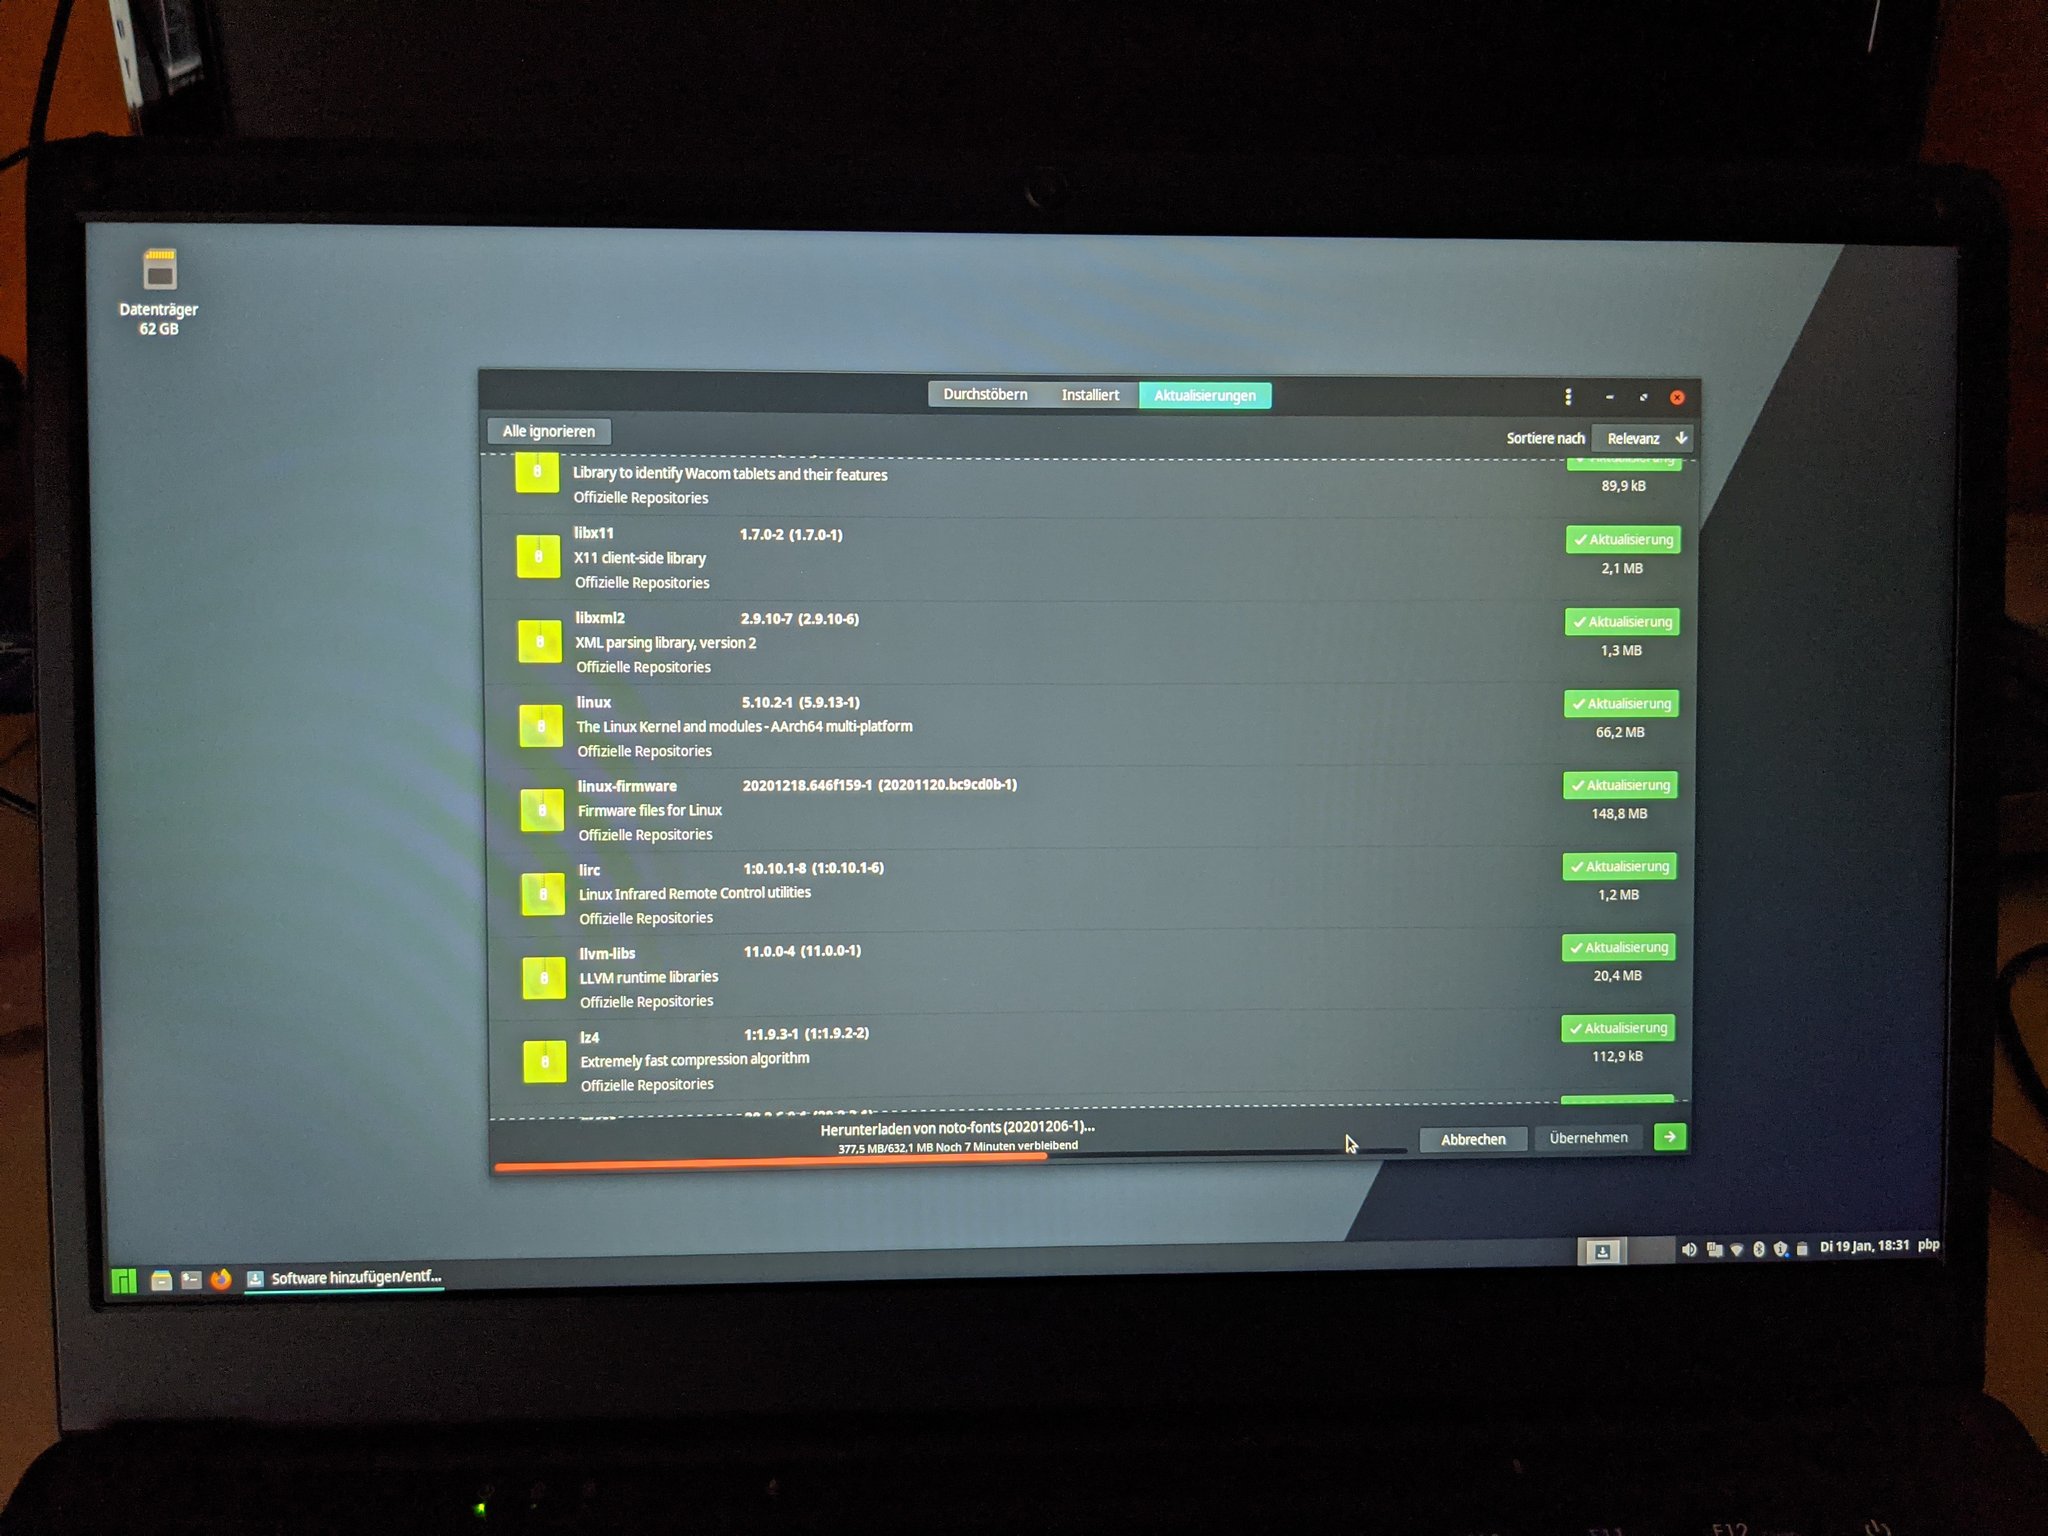
The first things I noticed and really annoyed me was mouse stuttering. When putting just a minor load to it the mouse could not keep up and lagged behind. To make it even worse it did not catch up after falling behind. It just stayed there. So you constantly had to adjust the curser position. Not ideal. Also Manjaro, even though I was using the XFCE flavor, felt kind a bulky and did not respond as good as Armbian based on MATE. So I decided to not waste any further time with this OS and simply got rid of it.
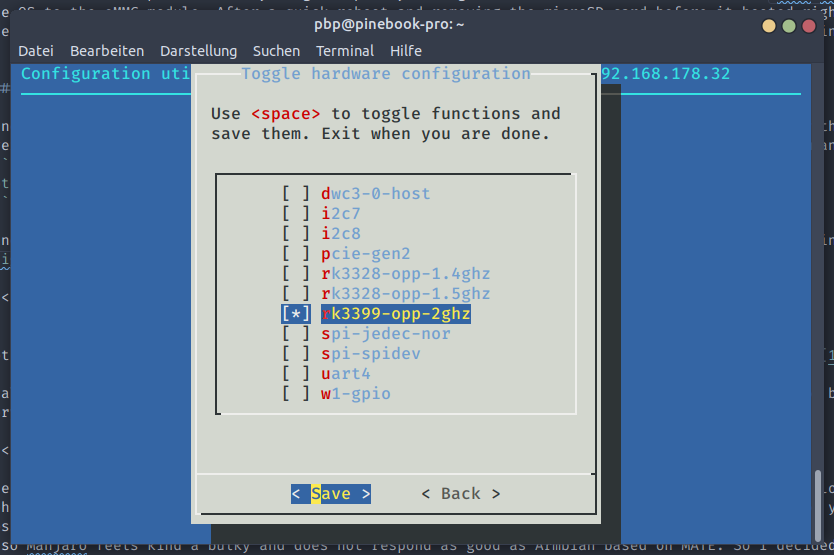
As mentioned earlier there is the option to give spurs to the RK3399 by overclocking it. Since it ran rather cool up to this point and the very thick thermal pad that connects the CPU to the backplate seem to do a decent job I decided to see if this makes any difference. And it did. While there is no real measurement from my guts feel the desktop environment became noticeable more responsive and faster.
Enabling this option was rather simple by utilizing armbian-config and enabling the matching dtb overlay.
The CPU cores get noticeable hotter but still absolutely acceptable in my opinion.
Discovered issues
I have pretty good hearing and while this might be a blessing for others I more consider it a curse. Not only it hurts if people trying to hit a specific tone and fail while sing or whistle I also often hear beeping noises from capacitors and such things.
The Pinebook Pro, or mine at least, is no exception. There is a very noticeable noise coming from the speakers if I do not disable them completely.
There is also a second minor source of beeping which changes when plugging or unplugging the power via USB-C. Bummer. I’d love to have this thing perfectly quiet but not going to happen I guess…
Anyway. I also noticed some annoyance regarding the touchpad. It is one single pad without dedicated buttons but they are placed under the pad. This however leads to the issue being unresponsive if you have one finger placed on a button and use the other hand to move the cursor around. This might be solvable via software but I did not do any further research on this as I normally have an external mouse connected most of the time.
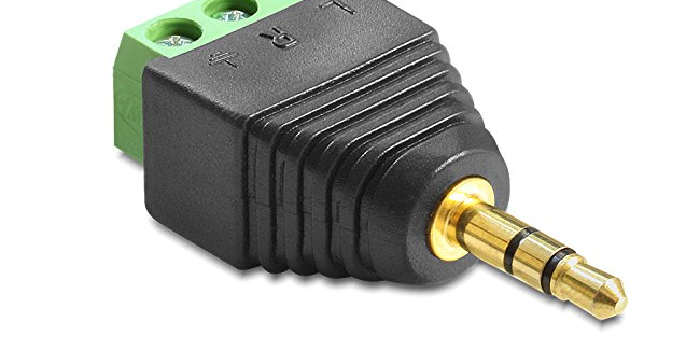
While it is common practice to connect a serial console to your ARM based SBCs for debugging purpose it is not that simple to achieve this with the Pinebook Pro. The creators made a decision which is in my opinion weird and genius the same time. They decided to utilize the headphone jack. When the backplate is removed there is a similar switch like the one for the eMMC power that disables the sound and connects a serial console. With an adapter like the following one it is possible to grab the serial console with a proper USB UART adapter by setting the baud rate to 1500000: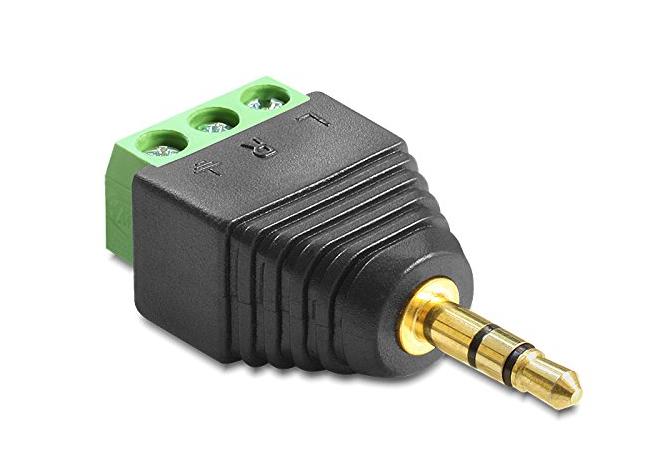
Future plans
Since the Pinebook Pro has the previously mentioned option to add a NMVe drive - which not only should increase the overall performance significantly - it also adds the option to create a swap file which is fast enough to not heavily thwart the OS when it is used.
However I am not sure how to put the boot loader to SPI while having the operating system on the NVMe. I only read about a working setup that stores the boot loader on the eMMC and I would rather prefer having this space independent to do something else with it like encrypted home folders or something. I need to do further research in this topic.
However I am pretty satisfied with the overall performance already specially when thinking about spending additional 60 bucks for a NVMe drive, the necessary adapter and shipping.
Update / Correction:
The Pinebook Pro DOES come with a PSU for both EU and US wall outlets. The previous owner just forgot to include it in the shipment. Nevertheless it is still optional in my opinion since feeding via USB-C works just fine.

